Alfa Pizza Oven Gas Conversion from LG to Propane - Included in Alfa ovens from Smokey Mountain Fireplaces
Hello this will assist you in the conversion of your new Alfa gas oven to go from Natural Gas to Propane or Propane to Natural Gas.
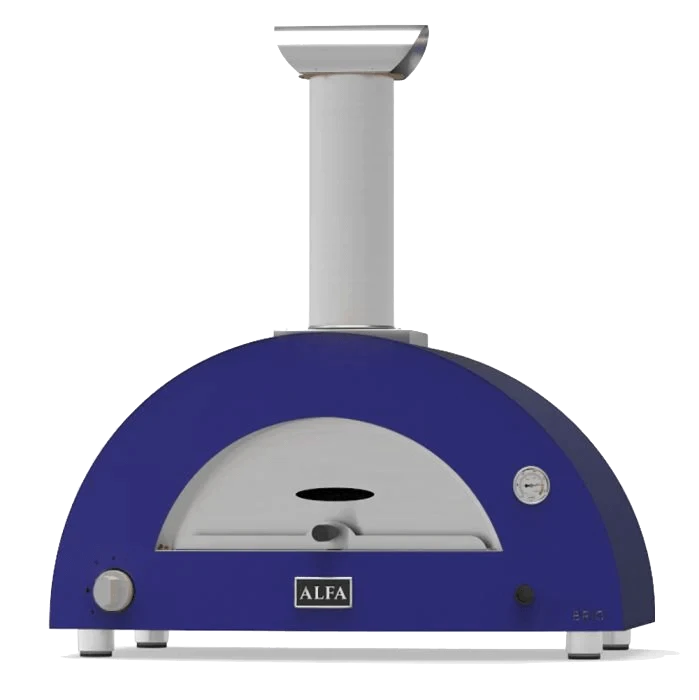
Below I have put some instructions with photos on how to convert the Brio oven to natural gas.

To convert the burner the burner needs to be removed from the oven. There is a screw in the front of the oven that needs to be removed. (see photo below) You will also need to remove the access panel on the rear of the oven in order to slide the burner out. Be careful not to pinch the white igniter wire. Once the burner is removed you will need to remove the cover that is over the pilot assembly. (see photo below) Once this cover has been removed you will also need to remove the front top cover of the burner. (see Photo) Once these covers have been removed you will need to take the igniter off of the pilot assembly. This is to avoid cracking the igniter during the conversion. You will need a 10mm wrench. (see photo below) Next is to remove the pilot flex gas line to change the pilot spud from #41 to #62 that came with the oven. Unscrew the compression nut on the flex gas line and slide it out of the pilot. Once the gas line is removed you can take the #41 pilot spud out of the pilot. Do not remove the compression fitting on the end of the gas line. The #41 pilot spud might be tight in the bracket so you might have to tap it with a small screwdriver to get it out. (see photos below) Install the #62 pilot spud and reinstall the flex gas line and igniter. Now you want to remove the complete pilot assemble to access burner orifice. To do this you will need to remove the two screws holding it in place. (see photo) Once the screws are removed you can take the pilot assembly and move it out of the way to access the air shutter screw. (see photo) Now you can remove the air shutter to access the burner orifice. (see photo) With air shutter removed you can remove the #230 burner orifice and install the #400 that came with the oven. You will need an 11mm wrench or a 7/16” wrench to do this. Once the orifice is installed, reinstall the air shutter in it’s original location. Now reassemble the pilot assembly, the burner cover and pilot assembly cover. Slide the burner back in and put the front screw in and rear access panel. Be careful not to pinch the white igniter wire while putting the burner back in.
Sorry to be so detailed but I want to make sure this is a smooth conversion. It’s easier than it sounds.
Thanks
Brad
Smokey Mountain Fireplaces


